 By Andrew Armstrong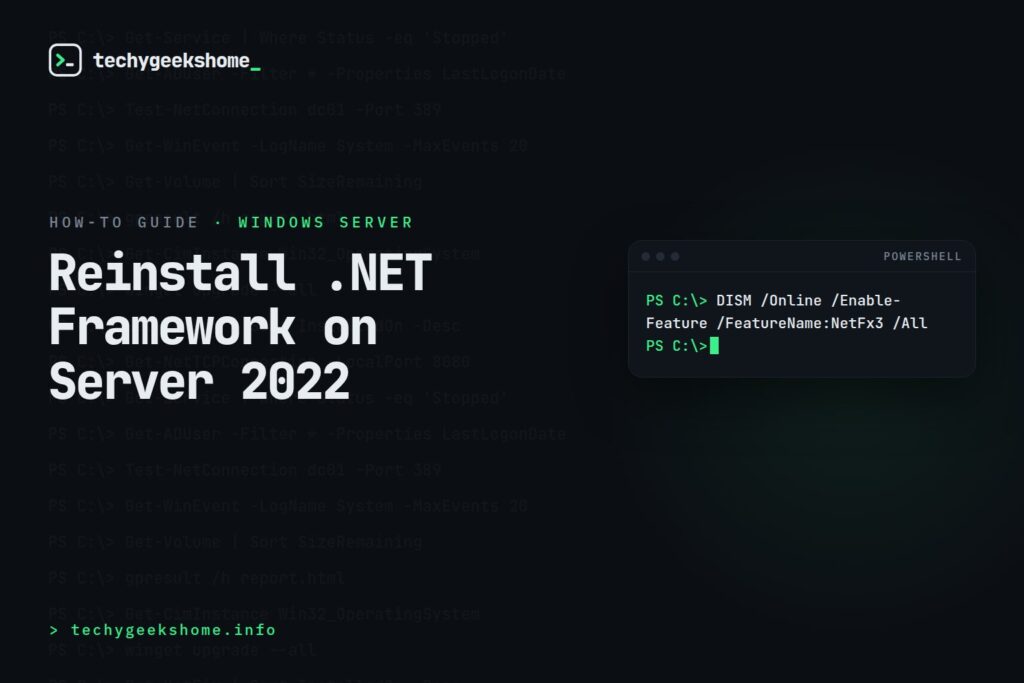
If you’ve accidentally removed the .NET Framework feature from your Windows Server 2022 and need to reinstall it, follow these steps to get it back up and running.
Step 1: Download the Installation Media
- Visit the Microsoft Evaluation Center to download the Windows Server 2022 installation media or the Features on Demand (FoD) ISO.
- Once downloaded, mount the ISO to a drive, for example,
D:.
Step 2: Install .NET Framework Using DISM
- Open Command Prompt with administrative privileges.
- Run the following command to install the .NET Framework feature:
DISM /Online /Enable-Feature /FeatureName:NetFx3 /All /LimitAccess /Source:D:\sources\sxsStep 3: Verify Installation
- After the installation completes, verify that the .NET Framework feature is installed by running:
DISM /Online /Get-Features /Format:Table | find "NetFx3"Step 4: Install .NET Framework 4.0 (If Required)
If you encounter an error stating that you need .NET Framework v4.0.30319, follow these steps:
- Download the .NET Framework 4.0 Standalone Installer from the Microsoft Download Center.
- Run the installer and follow the on-screen instructions to complete the installation.
Alternatively, you can use the DISM command if you have the Windows Server installation media:
- Mount the ISO to a drive, for example,
D:. - Open Command Prompt with administrative privileges and run the following command:
DISM /Online /Enable-Feature /FeatureName:NetFx4 /All /LimitAccess /Source:D:\sources\sxsAdditional Resources
For more detailed instructions, refer to the Microsoft documentation.
Additionally, there is a KB article for the cumulative update for .NET Framework 3.5 and 4.8 on Windows Server 2022: KB5049617.
Gear We Recommend
Running this in a home lab? Here’s the gear that keeps our test environment reliable.
Browse our Home Lab Essentials picks on AmazonAs an Amazon Associate, TechyGeeksHome earns from qualifying purchases.
Discover more from TechyGeeksHome
Subscribe to get the latest posts sent to your email.
