 By Andrew Armstrong
We have recently been having issues with our site loading the CSS, backgrounds and menu options, especially when using Google Chrome. This means that when a visitor was coming to the site, they would either get a random page, blacked out menu bars and now options to our other posts down the left hand side, which is frustrating!
Having finally found some time to look into this, the solution was very simple so we thought we would share this with you if you too are having issues with your Google Blogger site not loading correctly.
A note on which Blogger themes this applies to
This fix applies to classic Blogger templates, the older XML based themes such as Simple, Awesome Inc, Watermark, and similar, where Template > Edit HTML gives you the raw template markup to search and edit directly. Newer Blogger themes like Contempo use a different, more modern layout structure and do not have the same setTimeout(function() code in the same place, so searching for it in Edit HTML may not find a match. If your blog is running Contempo or another modern theme and you’re still seeing loading issues, the cause is likely different and this particular fix will not apply.
If you log into the administration area of your blog, on the left hand side you will see an option for Template:
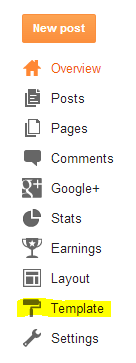
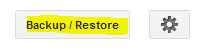
Click this and you will then see the options for changing the setup of your blog. You should then click on the Backup / Restore button found at the top right of this page:
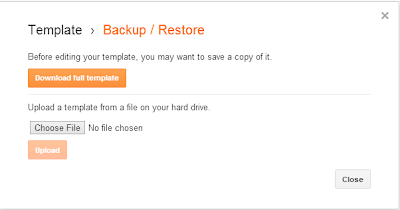
From here you can backup your current blog template just in case something goes wrong. Click on the Download full template button and this will download the XML file that will be your blog backup:
Once you are happy that you have a blog back, you should then click the Edit HTML button:
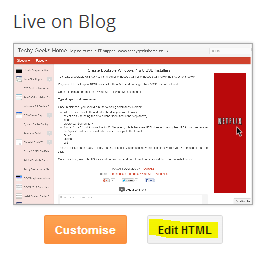
You will then be presented with the backend HTML code for your blogger site. If you are not familiar with HTML code, please do not be too overwhelmed by what you see…it looks more complicated than it actually is and the change you need to make here is very simple!
When you can see the HTML code, you should click anywhere in the box to make it live, then on your keyboard, press CTRL+F to bring up the search box:

In this search box, you should enter the following:
setTimeout(function()Then press enter. This should find the code in the HTML that you need to change. You will see this code just below what you find:

The only part of the code you need to change is the 0 in this section of code. It needs to be changed to 500. So your code should then look like this:

You should then click the Save template button at the top left of the code box:
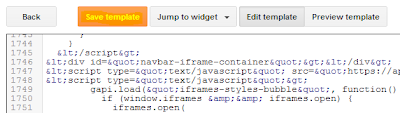
Then you should notice that when you or your visitors go to your blog site, it will always load first time, everytime correctly!
If you need any assistance with this at all, please leave a comment and we’ll reply when we can.
Gear We Recommend
A few general tech accessories worth having alongside this.
Browse our General Tech Accessories picks on AmazonAs an Amazon Associate, TechyGeeksHome earns from qualifying purchases.
Discover more from TechyGeeksHome
Subscribe to get the latest posts sent to your email.
