 By Andrew Armstrong
If you need to create standalone media for any of your task sequences within SCCM, you may find that you have to use a large capacity memory stick.
I have found that when I’ve tried to use a 64GB memory stick or above, the Create Stand Alone Media process always fails. So to get round this, there are two ways; do not use memory sticks larger than 32GB or using diskpart, create primary partition of 32GB.
Instructions
Run CMD as an administrator on a machine with the Configuration Manager Console installed:

Then type diskpart to enter the DiskPart utility:
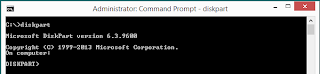
Then type in list disk to list all of your available disks:
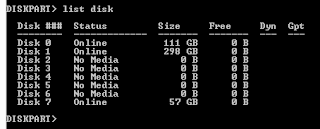
As you can see from the above screenshot, my 64GB (although it says 57GB..) USB stick is disk 7. Once you have identified your USB stick, type in select disk # (# = the disk number, in this case 7):
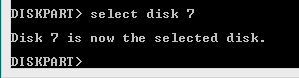
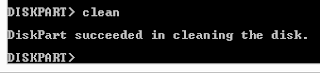
Then you want to completely clean this disk, so type in clean (please note that this will completely wipe your memory stick so make sure you want to do this before this step!):
You then need to create a primary partition on the disk so type in create partition primary:

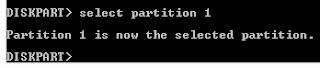
Then you need to select the new partition that you have just created, so type in select partition 1
This partition then needs to be made active so type in active:

Now that the disk is clean, re-partitioned and active, you need to shrink it down to below the 32GB size that the Configuration Manager Console is happy with. To do this, type in shrink desired=32768 (you can change this slightly depending on your requirements but should be total size below 32GB)

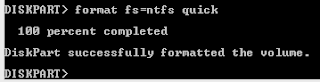
You now need to format the new, below 32GB partition, so type in format fs=ntfs quick (if you do not type in the command quick, it will take a long time to complete this process):
Then you need to assign a drive letter to this partition, so type in assign:

You can then exit the DiskPart program by typing in the exit command.
This will now give you a memory stick with around a 32GB partition ready to have the stand alone media process run on it, you should now find that it will complete successfully.
Gear We Recommend
Testing configs is easier with a dedicated admin machine set up right. Here’s the kit we use.
Browse our Windows Admin Toolkit picks on AmazonAs an Amazon Associate, TechyGeeksHome earns from qualifying purchases.
Discover more from TechyGeeksHome
Subscribe to get the latest posts sent to your email.
