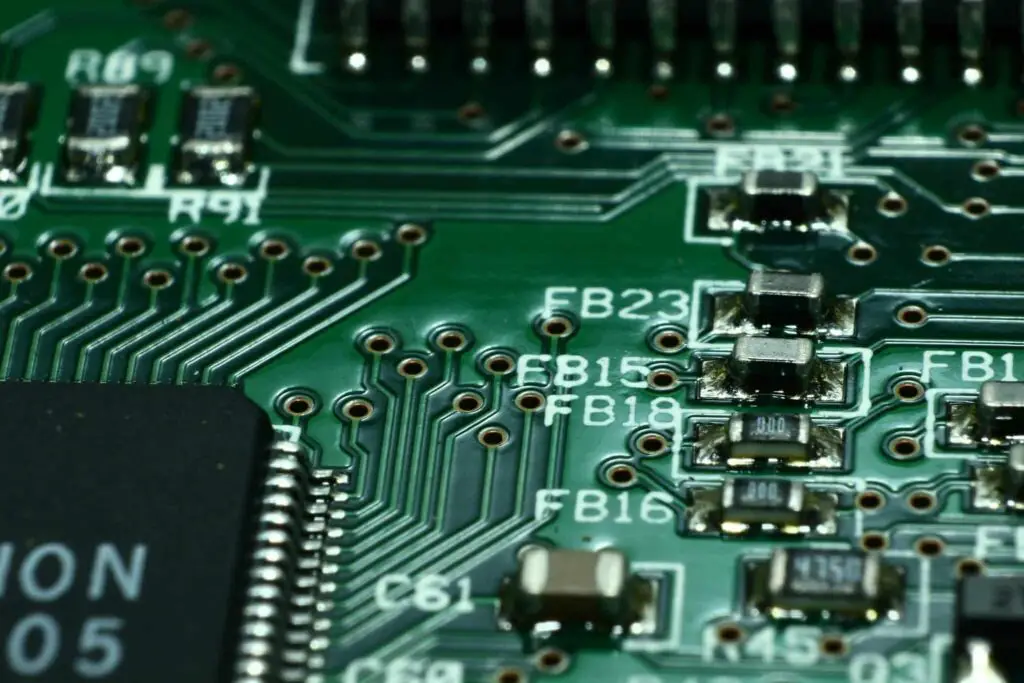
Developing a prototype of a new electronic product can be a daunting task, but it can be ten times worse if you try to cut corners. This is after you’ve already spent time and effort establishing there is a market for your product. It requires people with lots of different skill sets. Whether you use freelance professionals, or an agency makes the cost vary greatly. There are also those of you that will be able to do some of the development work yourself, saving yourself time and money.
Below we’ll lay out all the steps required to turn your idea into a physical prototype.
Design to Plan
Creating a preliminary design will help you to better understand what your prototype is going to consist of. It allows you to recognise all the critical components and start building a list of other materials you will need.
Getting More Technical
The next stage is to create a more detailed schematic design of the electronics. This will help you to understand how everything fits together, right down to the resistors and capacitors. There are lots of different programs on the market to help with this, and they’ll help you extrapolate a detailed list of materials needed to build the design the schematic is for.
Design the Printed Circuit Board (PCB)
Most professional software will let you complete the previous step and this one. It’s a great way to crosscheck that your PCB matches the layout of your schematic design. This is a complex process and cannot be performed manually. Verification that everything is in order for your particular process is essential before continuing, and the software can be costly, but it’s a case of you get what you pay for. Altium provide comprehensive software that can save you a lot of time, and therefore money, during these early parts of the process.
The First Physical Stage
Now everything is designed and confirmed, you can order a few physical prototypes of your PCB so you can begin testing. Don’t go overboard and order a larger volume, as many products require several iterations before becoming the finished article. The number of iterations required can be reduced by getting your design reviewed by someone that specialises in the field.
Integration – Testing – Debugging
This part of the process is where you make sure the firmware in your PCB is working correctly, and that everything is working together as it should. Once this is established you can start testing the product more rigorously, identifying problems and the required fixes as you go.
Developing the Right Software
The type of software you need to develop will be dependent on your product. It could be embedded firmware, PC software, or a mobile application. The variation in the software cost can huge due to the huge variations in type, from simple firmware to complex mobile apps for both Android and Apple.
You Have a Testable Prototype
It may look a bit rough around the edges and be lacking the final enclosure, but you are now able to test the technical aspects while others get on with designing the final look of the product using 3D modelling.
Record Everything
As you company grows you might switch from using freelancers to an agency, or even employ in-house engineers. They need to have a complete understanding of everything that has happened previously. The best way to achieve this is to document every critical part of the process and record all the relevant details, so anybody who joins the team has a roadmap of your journey so far.
Discover more from TechyGeeksHome
Subscribe to get the latest posts sent to your email.

