 By Andrew Armstrong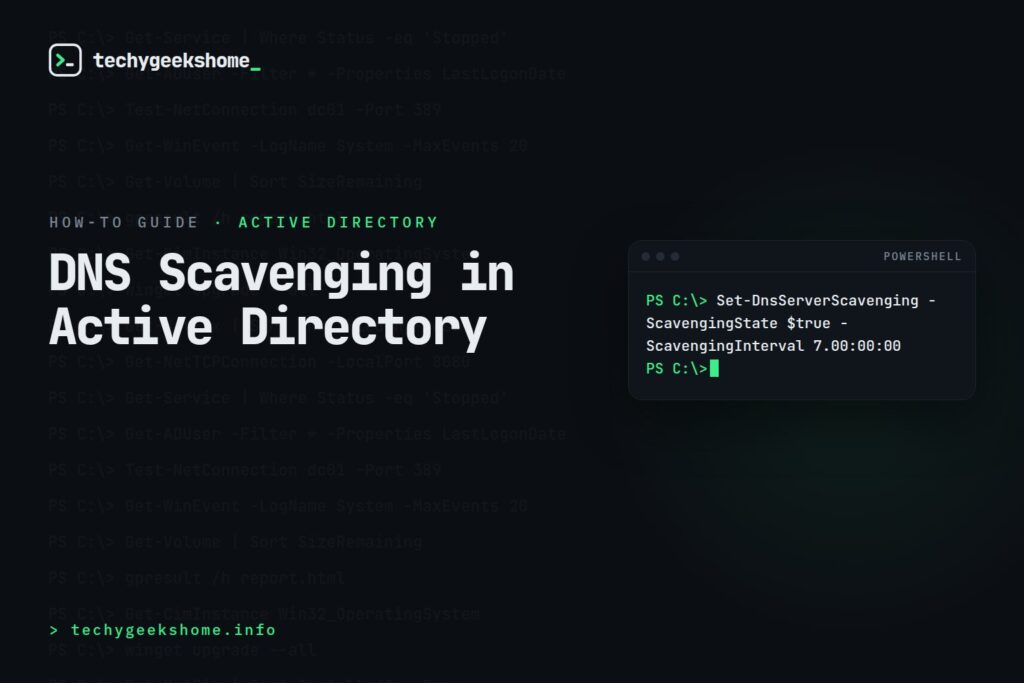
Part of our Active Directory and Group Policy guides: every related guide in one place.
Every AD environment accumulates stale DNS records over time. Decommissioned servers, laptops that changed IPs months ago, test machines nobody deleted the record for. DNS scavenging is Windows Server’s built-in mechanism for automatically cleaning these up, and it has a well-earned reputation for either being left permanently disabled out of fear, or enabled once and causing an outage when it deletes something it shouldn’t. Both outcomes come from the same root cause: not understanding how the aging timestamps actually work before turning it on.
- Scavenging is disabled by default on every new DNS zone
- It works on a timestamp system: no-refresh interval, then refresh interval, then the record becomes eligible for deletion
- Only dynamically registered records get timestamps. Static records are never touched
- Scavenging must be enabled at both the DNS server level AND the individual zone level
- The most common cause of unwanted deletions is a client that stopped refreshing its record without a proper deregistration
How the aging and scavenging timers actually work
When a client dynamically registers a DNS record, it gets a timestamp. The no-refresh interval (default 7 days) is a period during which the record cannot be refreshed even if the client tries. This exists purely to reduce replication traffic. After that comes the refresh interval (also default 7 days), during which the client can and should refresh its record. If neither the client nor any re-registration happens by the end of the refresh interval, the record becomes eligible for scavenging on the next scavenging cycle. In total, a record needs to go roughly 14+ days without any activity before it’s even eligible for deletion. It’s not an aggressive or fast process by design.
Step 1: Enable scavenging on the DNS server
This sets the default aging/scavenging behaviour for zones on this server, and starts the actual scavenging process on a schedule:
Set-DnsServerScavenging -ScavengingState $true -ScavengingInterval 7.00:00:00
Step 2: Enable aging on each zone
Server-level scavenging does nothing unless individual zones also have aging enabled:
Set-DnsServerZoneAging -Name "yourdomain.com" -Aging $true -RefreshInterval 7.00:00:00 -NoRefreshInterval 7.00:00:00
Run this against every AD-integrated zone individually. Reverse lookup zones included, since those tend to get forgotten and accumulate just as much stale data.
Step 3: Only enable it on one DC per zone replication scope initially
If you have multiple DCs hosting the same zone, only one of them needs to run the scavenging process. Enabling it on every DC simultaneously doesn’t speed anything up and increases the risk of overlapping scavenging runs causing confusion. Pick one DC (commonly the DC also holding the PDC Emulator FSMO role) as your designated scavenging server.
The pitfalls that actually cause outages
The classic incident is a statically-configured server (like a file server or print server) that someone manually created a DNS A record for, rather than letting it register itself. If that record was somehow created with dynamic update rights instead of as a genuinely static entry, it will age exactly like any other record and eventually get scavenged. Taking down access to a critical server with no warning. Before enabling scavenging domain-wide, export your zone and manually review any records for infrastructure that should never expire, converting them to properly static entries with Set-DnsServerResourceRecord if needed.
Run scavenging manually with Start-DnsServerScavenging in a test/reporting mode first if you’re nervous, and check the DNS Server event log (events 2501-2503) after each run to see exactly what was aged out before trusting it to run unattended.
For official guidance, see Microsoft’s Windows Server documentation.
Gear We Recommend
Firewall rules are only half the story. Here’s the networking hardware we recommend for a properly segmented setup.
Browse our Networking Equipment picks on AmazonAs an Amazon Associate, TechyGeeksHome earns from qualifying purchases.
Discover more from TechyGeeksHome
Subscribe to get the latest posts sent to your email.
