 By Andrew Armstrong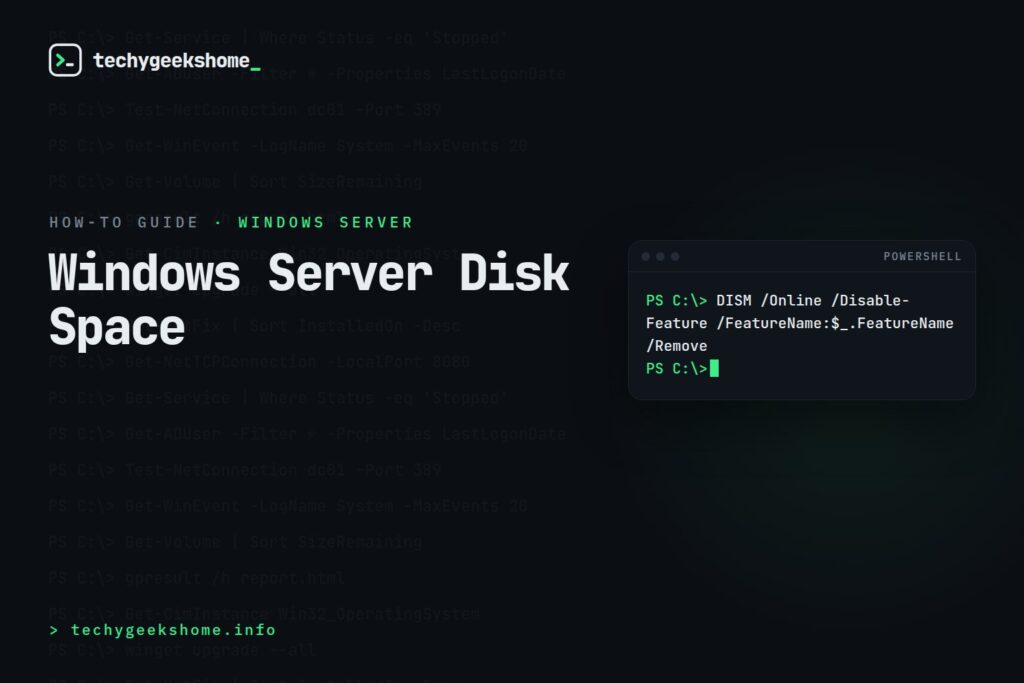
Reclaiming the Space
From an elevated PowerShell prompt on the server, run:Get-WindowsOptionalFeature -Online | Where-Object { $_.State -match "Disabled" } |
ForEach-Object {
DISM /Online /Disable-Feature /FeatureName:$_.FeatureName /Remove
}
This finds every feature currently in a Disabled state and runs DISM against each one with the /Remove switch, which strips out the locally-staged payload files for features you’re not using. You should typically see somewhere in the region of 1-2GB freed up, though the exact figure depends on which roles and features are present on that particular server build.
Important Caveat
Once removed, re-enabling that feature later will require either internet access (Windows will fetch the payload from Windows Update) or pointing DISM at installation media with the/Source switch: it won’t be a quick local re-enable anymore. Don’t run this against features you might need to toggle on and off regularly.
Still the Right Approach on Current Windows Server (Updated for 2026)
This DISM-based cleanup works unchanged on Windows Server 2025, still the current LTSC release. One thing worth adding to the script above: pipe the results to a log file first before removing anything, sinceGet-WindowsOptionalFeature -Online can occasionally list features under names you didn’t expect (naming has shifted slightly between some builds). A quick dry run first: Get-WindowsOptionalFeature -Online | Where-Object { $_.State -match "Disabled" } | Select FeatureName | Out-File C:\Temp\DisabledFeatures.txt: lets you sanity-check the list before running the actual removal loop against it.
Resources
🛠️
Gear We Recommend
Running this in a home lab? Here’s the gear that keeps our test environment reliable.
Browse our Home Lab Essentials picks on AmazonAs an Amazon Associate, TechyGeeksHome earns from qualifying purchases.
Discover more from TechyGeeksHome
Subscribe to get the latest posts sent to your email.
