Estimated reading time: 2 minutes
If you want to run a check against your VMWare infrastructure for virtual machines that have thick provisioned disks, you can use VMWare PowerCLI to do this quickly and easily.
Our step by step guide below will show you what you need to do to bring back the results that you need.
Check for Thick Provisioned Disk – Step by Step Guide
Download VMWare PowerCLI
The first thing that you need to do is download the VMWare PowerCLI utility from the VMWare website. You can do this by clicking the link below:
Go ahead and install this onto a machine that is on the same network as the VMWare infrastructure.
Connecting to the vCSA
Once you have installed PowerCLI, run the utility as an administrator (elevated):

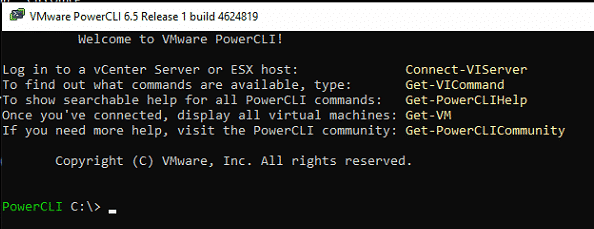
This will now go through and install the modules that PowerCLI requires and you should be left with a console ready to enter commands:

Now you will need to connect to the vCenter Server Appliance (vCSA). To do this, run the following command:
Connect-VIServer -Server vCSA-1 -User admin@vmware.local -Password Pa55w0rdwhere:
- vCSA-1 = Your VCSA server
- admin@vmware.local = administrator username with access to the vCSA
- Pa55w0rd = Your administrator password
This should now show that you are connected to the vCSA.
Thick Disk Provision Command
Now that you are connected successfully to your local vCSA, you can run this command to get the Thick Provisioned Disks and which virtual machines that they are on:
Get-Datastore | Get-VM | Get-HardDisk | Where {$_.storageformat -eq "EagerZeroedThick" } | Select Parent, Name, CapacityGB, storageformat | FT -AutoSizeThis will then output into a formatted table within the PowerCLI console, the full list of virtual machines, which disk it is, the capacity (GB) of the disk and the storage format.
Feedback
If you have any questions or problems with the guide, please feel free to leave us a message below in our comments section, or grab us on our social media channels and we will get back to you as soon as we can!
Share this content:
Discover more from TechyGeeksHome
Subscribe to get the latest posts sent to your email.
