Estimated reading time: 2 minutes
Do you want to add a great live tile to your Start Menu in Windows 10 to show you your data usage from the past 30 days?
Well there is a very quick and simple way to do this and this guide is for all ranges of technical knowledge, but if you do get stuck, please feel free to leave us a message in the comments section.
Instructions
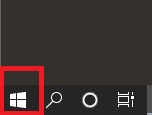
Start by clicking on the Start button at the bottom left of your screen:
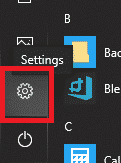
Then click on the Settings cog in the Start Menu:
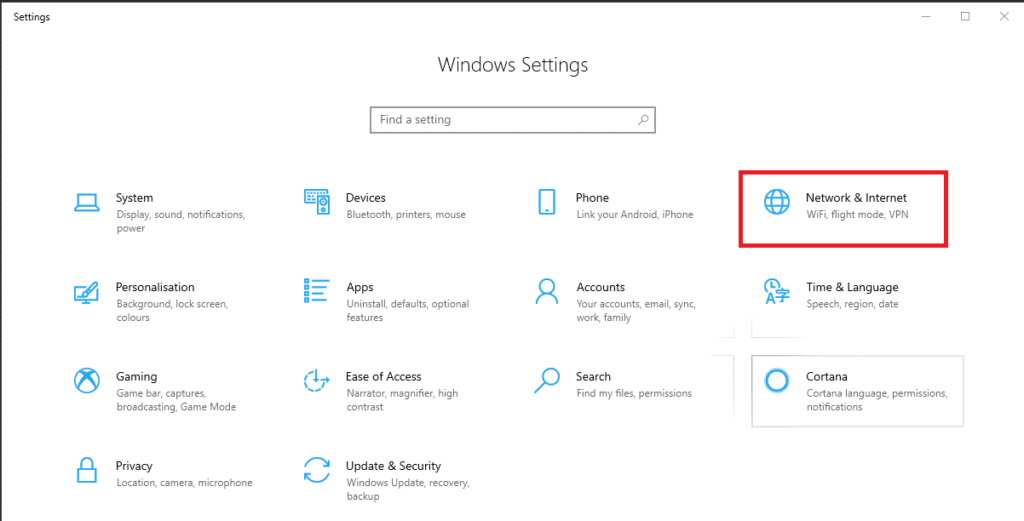
Once you are in the Windows Settings area, click on the Network & Internet button:
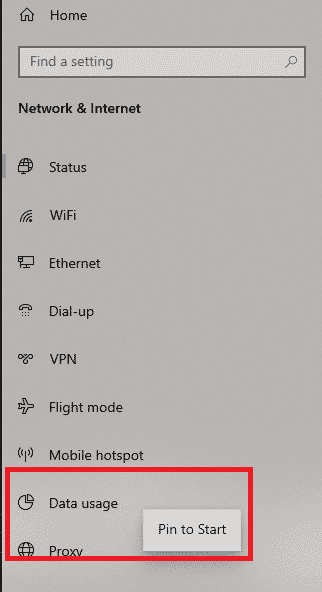
Then on the left side menu, right click on the Data usage option and click Pin to Start:
Now head back to your Windows 10 Start Menu and you will see the Data usage live tile:
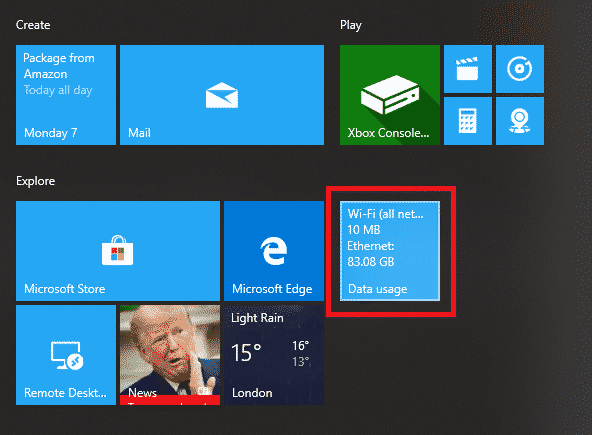
That’s it! Whenever you click on your Windows 10 Start Menu now, you will see your wireless and wired data usage.
Feedback
If you do have any questions, please feel free to leave us a message below in our comments section and we will try to help you out where we can.
Share this content:
