Estimated reading time: 3 minutes
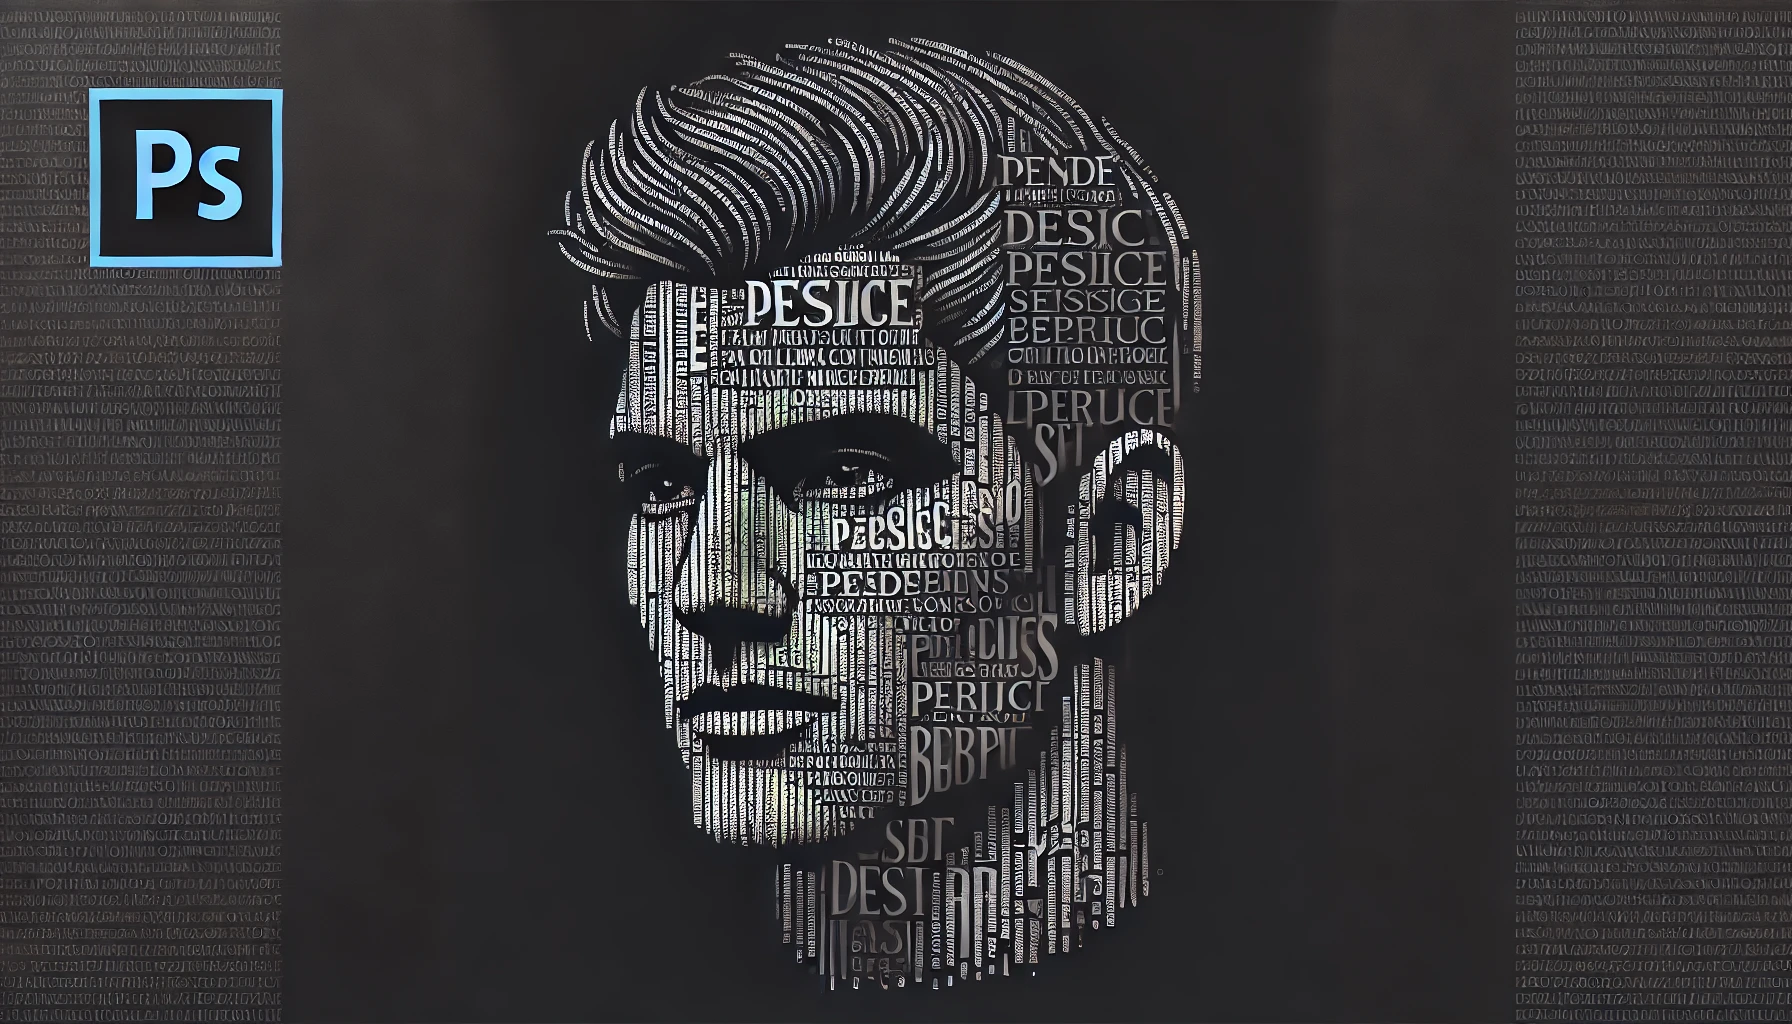
Transforming a portrait into a visually striking piece of word art is a fantastic way to blend typography with photography. This effect, known as a calligram, uses a passage of text that wraps around the contours of a face, making it ideal for showcasing famous quotes or speeches.
In this tutorial, we’ll walk through the process of creating a text-based portrait in Photoshop using the Displace filter to ensure the words follow the natural shape of the subject.
Step 1: Choose Your Image
Start by selecting a high-quality portrait that clearly defines the subject’s facial features. Crop the image to fit the final composition, ensuring a balanced and visually appealing layout.
Step 2: Convert to Black and White
Add a Black and White Adjustment Layer to remove color distractions and focus on the subject’s structure. Adjust the contrast by darkening the Red channel, which enhances depth and detail in the face.
Step 3: Apply a Gaussian Blur
To soften the displacement effect, select the image layer and apply a Gaussian Blur (Filter > Blur > Gaussian Blur) with a radius of around 20px. This smooths out fine details and helps the text wrap naturally around the contours.
Step 4: Save the Displacement Map
Go to File > Save As and save this blurred image as displace.psd. This file will act as the displacement map. Then, undo the blur effect by pressing Ctrl + Alt + Z (Cmd + Option + Z on Mac).
Step 5: Add the Text
Use the Type Tool (T) to draw a text box that spans the entire image. Paste in your chosen quote, ensuring it forms a dense block of text. Remove line breaks to create an unbroken flow, disable hyphenation, and set paragraph alignment to Justify.
For best results, use a bold, uppercase font. In this example, we’re using Montserrat Bold, adjusting the size and leading so the text fills the portrait evenly.
Step 6: Apply the Displacement Effect
With the text layer selected, go to Filter > Distort > Displace. Choose a displacement value of around 10 for both Horizontal and Vertical Scale and select the displace.psd file when prompted. Photoshop will warp the text to follow the face’s contours.
Step 7: Extract the Text Portrait
To isolate the text portrait, hold Ctrl (Cmd on Mac) and click the thumbnail of the text layer to create a selection. Then, turn off the visibility of the text layer and use Edit > Copy Merged (Ctrl + Shift + C / Cmd + Shift + C) to copy the shaped text.
Open a new document, which Photoshop will automatically size to fit your copied content. Paste the text image and set the background to black to highlight the intricate details of the portrait.
Final Results
The result is a visually stunning text portrait that retains the subject’s likeness while offering an engaging typographic effect. From a distance, it appears as a simple pattern overlay, but up close, the individual words form a readable and dynamic piece of art.
This technique can be used for a variety of creative projects, from posters to digital artwork, allowing you to merge storytelling with powerful visuals.
Tips for Best Results
- Use high-resolution images to ensure clean text wrapping.
- Experiment with different fonts and sizes to enhance readability.
- Adjust the displacement intensity for varying levels of text distortion.
- Combine multiple layers of text for a more complex, artistic effect.
Give this technique a try and create your own unique text-based portraits!
Share this content:
Discover more from TechyGeeksHome
Subscribe to get the latest posts sent to your email.
