Estimated reading time: 2 minutes
Introduction
If you are using a Synology network storage unit, there is a good chance that you will be adding and removing data from it all the time.
For convenience, Synology has a built-in Recycle Bin, meaning that if you ever delete a file or folder, you can always retrieve it from the Recycle Bin, just like you can in Windows.
However, if you are deleting a lot of data regularly, then the Recycle Bin can start to fill up quickly and start using all your disk space.
A simple solution is to have the Recycle Bin empty itself on a set schedule. This can be daily, weekly or monthly.
Setup Recycle Bin to Auto Empty
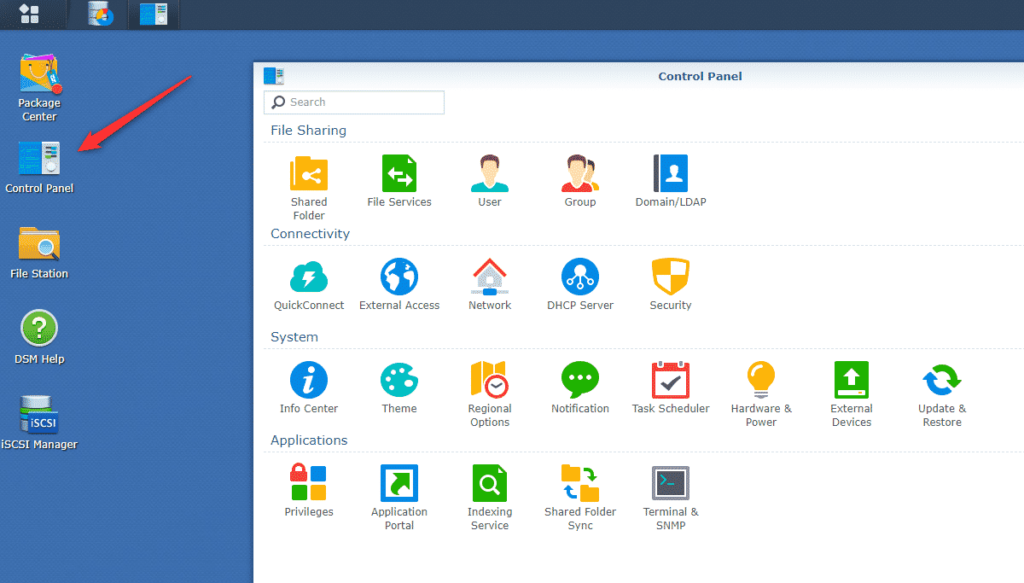
Login to your Synology Admin Portal and then go into the Control Panel.

You then need to go into the Task Scheduler:

You can then create a new task to carry out the automated clearing of the Recycle Bin using the steps below in the video.
This task will now run as per your settings and empty the recycle bin as per your instructions.
Manually Empty the Recycle Bin
If you want to just manually empty the recycle bin, then you can log in to your Synology Admin Portal and click the Control Panel.
Then go into the Shared Folder within the Control Panel.

Then click on the Action button and from the drop down, click on the Empty all Recycle Bins.

This will then empty all the recycle bins manually.
Share this content:
Discover more from TechyGeeksHome
Subscribe to get the latest posts sent to your email.
